1×10 Conversion
I said I’d never do it, but I ended up converting the drive train on my Kona Process 134 to a 1×10 set up. It was surprisingly easy, but not without pitfalls if not planned out, so here’s what I did in case you’re thinking of doing the same.
Why
1x drivetrains are all the rage at the moment, but I must confess I never understood why. As well as the range, I really like the jump that a 2x chainset gives; great for giving you a boost of speed or cadence for a sudden gradient change – especially useful at trail centres where obstacles are closer together than in the wilds. That said, front derailleurs aren’t the smoothest tools in the box. They also don’t always play nicely with full suspension bikes, where things like swing arms can get in the way. My Kona came with 2×10 as standard, but to be honest they’d only just got away with the implementation. A Type 2 direct fit mech was required and the cable routing made using a Shimano mech difficult (because of the pull direction). I say difficult, but impossible is probably more accurate! To adjust the mech you have to take the chainset off and cable adjustment required wedging a tyre lever in the mech to hold it wide open just so the cable retaining nut could be turned and then guessing the required tension, seeing if it was correct and repeating if not. Needless to say I tired of that very quickly!
The other thing about the Process, much as I love her, is she’s damn heavy! Factory spec with flat pedals attached she just tips over 15kg, which is mental for something designed as an enduro bike. Sure downhill you’ve got that momentum, but uphill is hard work. I had already spec’d a set of changes when I bought the bike to drop nearly a kg from the standard weight – chainset, cassette, tyres, seatpost, bars (just a few things!). But at over 14kg still, I am always looking for ways to reduce it further. So when a friend told me he’d saved 500g converting to 1×10 that was the last straw!
What
So, first thing is what do you need? The absolute minimums are a narrow/wide (or other retaining standard) chainring and a clutch rear mech.
But what size chainring? Given you’ve only got 1 chainring now, it’s size is critical, but also individual. What you choose can skew your gear range to easy or hard, depending on what you need.
To help choose the right size for me, I started by looking at the range I had. I mapped it out mathematically to better understand the range. Then I knew what gears I should have a go not selecting on a sample ride. The results are in millimetres for my wheels – a 27.5″ with a 2.3″ tyre.
| Rear Cog | 38t outer ring | 24t inner ring |
| 11 | 7531 | 4756 |
| 13 | 6372 | 4025 |
| 15 | 5523 | 3488 |
| 17 | 4873 | 3078 |
| 19 | 4360 | 2754 |
| 21 | 3945 | 2491 |
| 24 | 3452 | 2180 |
| 28 | 2959 | 1869 |
| 32 | 2589 | 1635 |
| 36 | 2301 | 1453 |
Looking at that lot and comparing different chainring sizes to the cassette, I decided 32t look good for me, so I checked out what I would get.
| Rear Cog | 32t front ring |
| 11 | 6342 |
| 13 | 5366 |
| 15 | 4351 |
| 17 | 4104 |
| 19 | 3672 |
| 21 | 3322 |
| 24 | 2907 |
| 28 | 2491 |
| 32 | 2180 |
| 36 | 1938 |
With the standard 11-36 XT cassette I currently had, I only lost the hardest gear at the top end. There was a trade off though, which was that I effectively lost the bottom 2 gears. As my bike has 650b wheels, that’s a reasonable loss.
However that’s sticking with the standard cassette, but now you can get expander cogs. I’d need to pick a cog in the cassette to exchange, but I looked at what I would get back.
| Expander | 32t front ring |
| 40 | 1744 |
| 42 | 1661 |
So essentially I could get back at least one more gear by fitting an expander. Most of my riding is round trail centres and I wasn’t sure if I would need the expander so I decided to give just the standard 11-36 cassette a go to start with.
How
Now came what seemed to be the easiest part – fitting it! I ordered a 32t I/O chainring from Superstar components, who happened to have an offer on at the time (always worth looking at their Facebook page for flash offers).
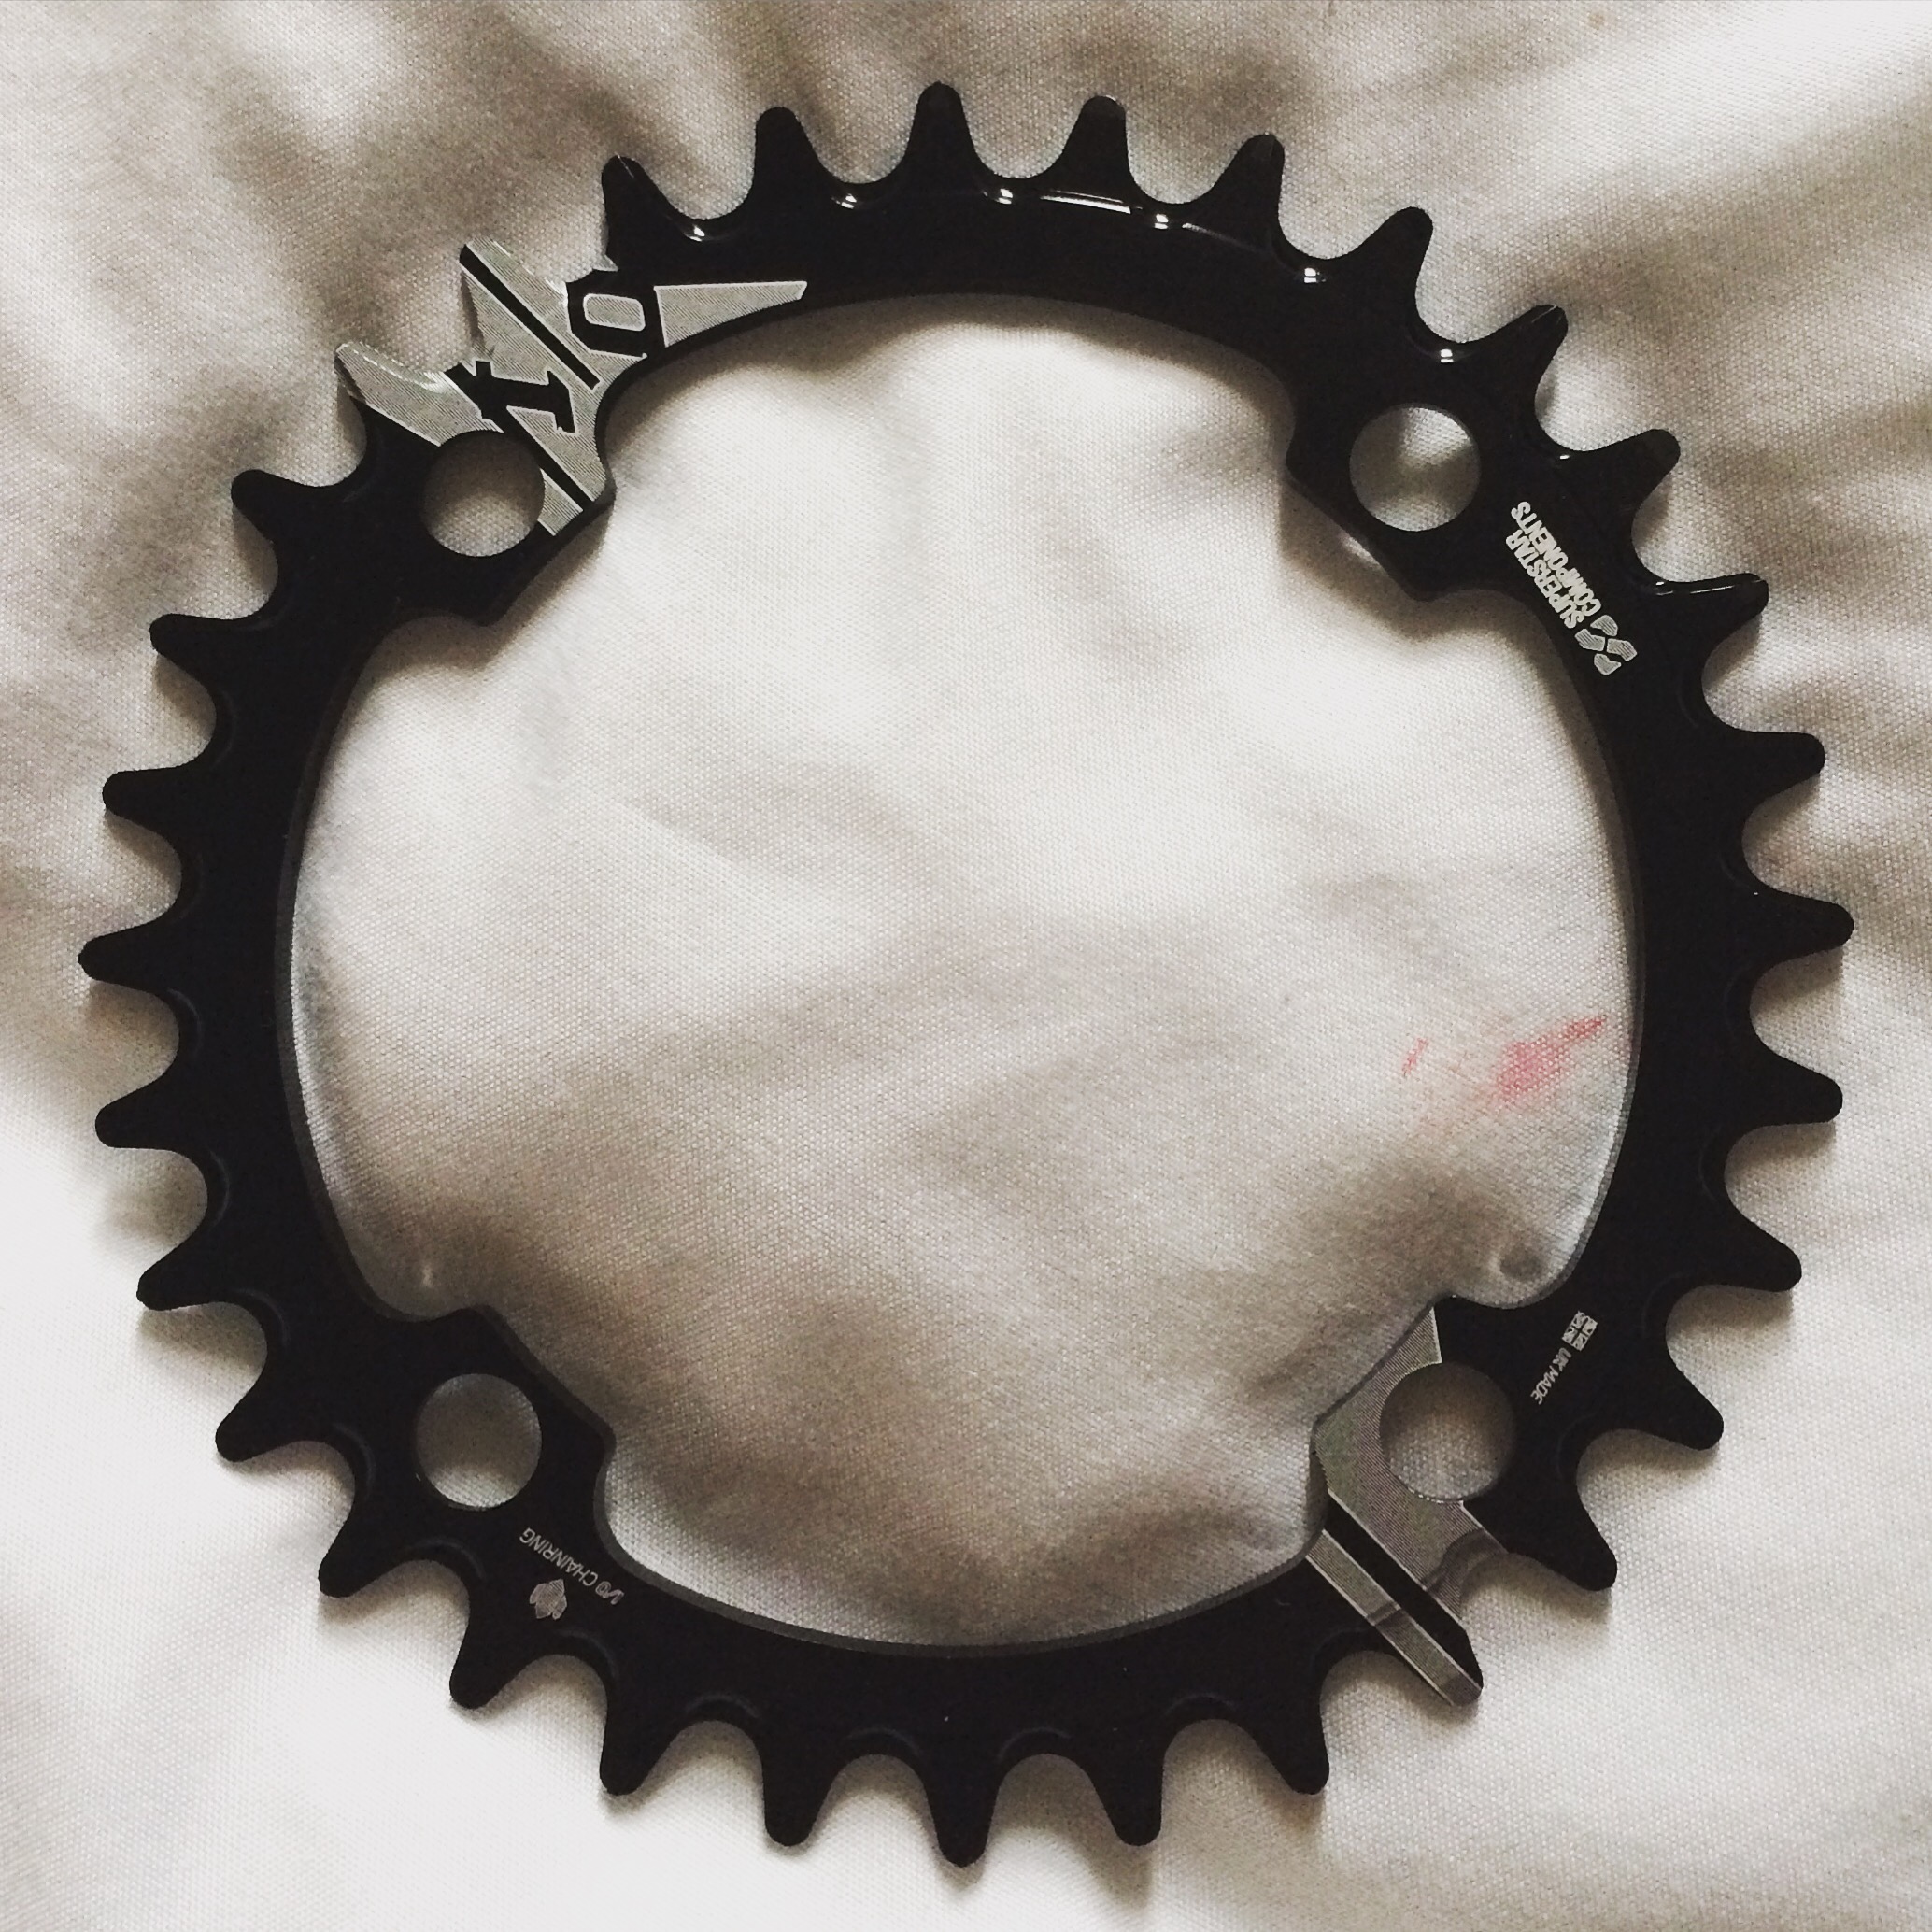 This is a narrow/wide style, which holds the chain on and when used with a clutch mech, should result in no dropped chains. I already had a clutch mech on the bike, so the chainring was all I needed.
A quick note about shifters though – my bike already had Shimano XT shifters, but if it hadn’t, I would have fitted one. The right XT shifter allows the downshift of 2 gears, instead of the usual 1 – something that really helps with a single ring set up.
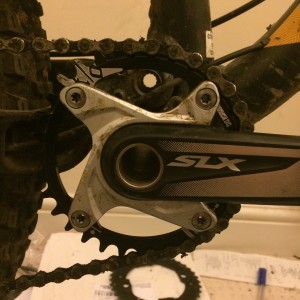
The chainring arrived very quickly and all I had to do was remove my existing SLX double chainset, take off the chainrings (which required a T30 torx key, so make sure you’ve got one!) and fit the new chainring where the outer had been. If I had had a triple ring chainset I would also have required shorter chainring bolts, but that isn’t necessary with the double.
So after removing the front mech and left shifter, I popped the chainset back on, re-rengaged the clutch mech and that was it.
Testing
Obviously it needed a run out to check everything, so I gave it a test round a variety of trails at the Forest of Dean – a lap of Verderers, a bit of the GBU and Bottleopener downhill runs and finally the family trail.
Verderers was a good test of climbing. It’s not the steepest trail in the Forest, but it does still have some challenging bits. And it worked fine – there were only a couple of places where I went for a lower gear to find I had run out, but a slightly deeper dig with the legs and I was fine. I think Freeminers would be more of a challenge without an expander, so I will try that next time, but that’s steeper than most stuff I do normally, so for now I’m happy with the 11-36.
In terms of the new chainring, it worked brilliantly. By worked I mean I didn’t have a single dropped chain and Bottleopener in particular is seriously rooty and shakes the whole bike (and me!), but no issues whatsoever. The other thing I didn’t get was any chainsuck. This is something that has plagued me for years through different bikes and chainsets, so seems to be something to do with my pedalling style, but not even a hint with the new chainring.
Overall
So although I said I’d never do it, I did it and actually I’m very happy with my new 1×10 setup. I should restate this is on my full suspension bike that I use at trail centres – for XC I think 2×10 is still probably better, although actually just an expander might be enough. It’s not something I do enough of at the moment to comment though.
If you’re thinking about trying 1x and have a clutch mech, its simple and cheap to try – definitely worth a go if a doubter like me is happier with the result 🙂
 D5 Creation